Generic Menu Options
When accessing every entry in the main menu, a list of elements is shown. For example, if we access the menu Workflows/Flow, the list of flows is shown in the working area, if we enter the menu Data/Document Types the working area shows the list of data types, and so on. Regardless the kind of elements we're listing, a generic menu appears as a horizontal bar in the top-right corner of the working area. This menu contains a set of options which are common to every list of elements in Cenit.
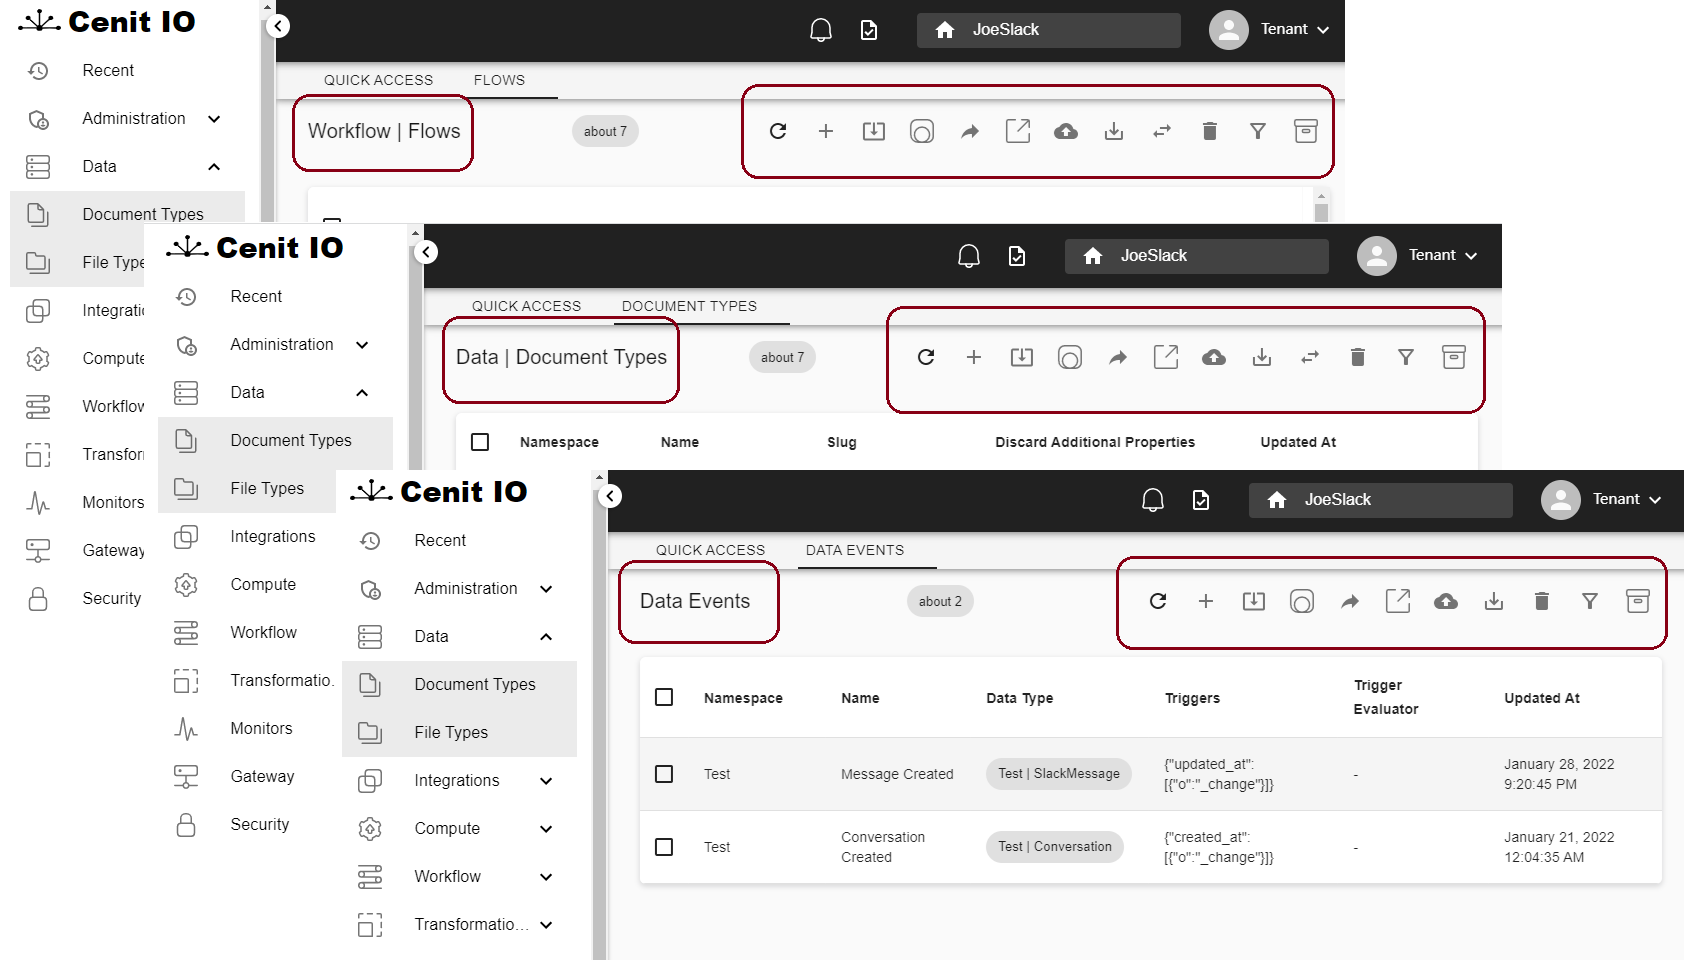
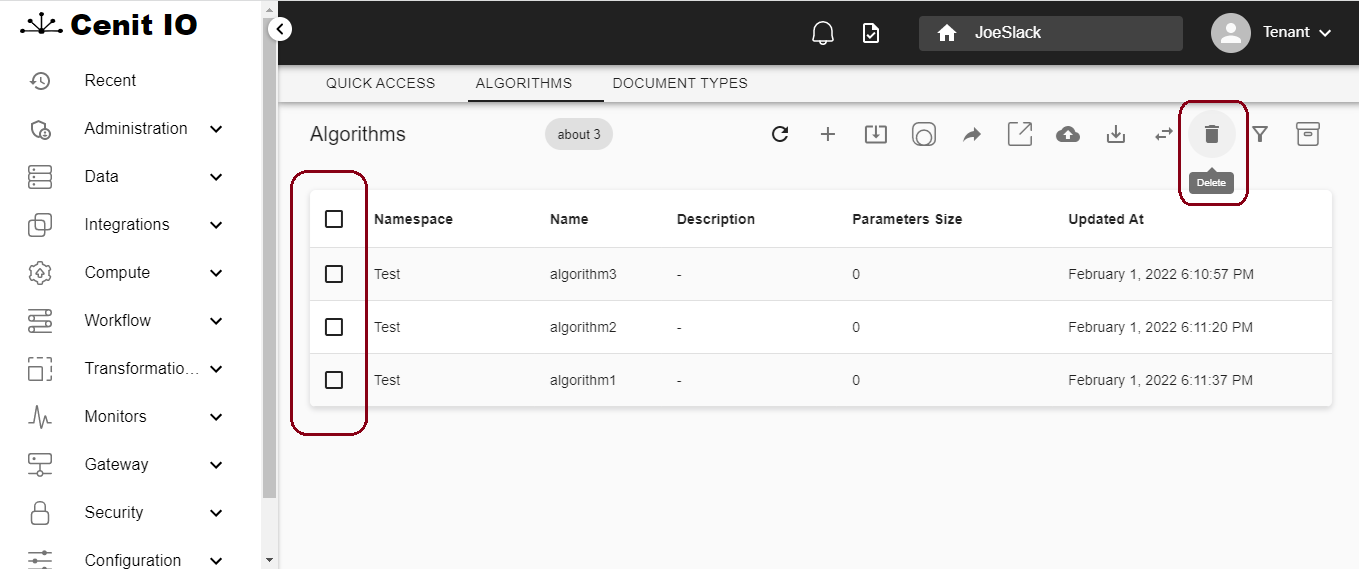
The options in the generic menu bar apply to all the elements on the list, unless one or more element are selected, if that's the case, the options in the generic menu apply only for the selected items. That means if we press the Delete button and no element is selected, we're telling Cenit to delete all the elements in the list:
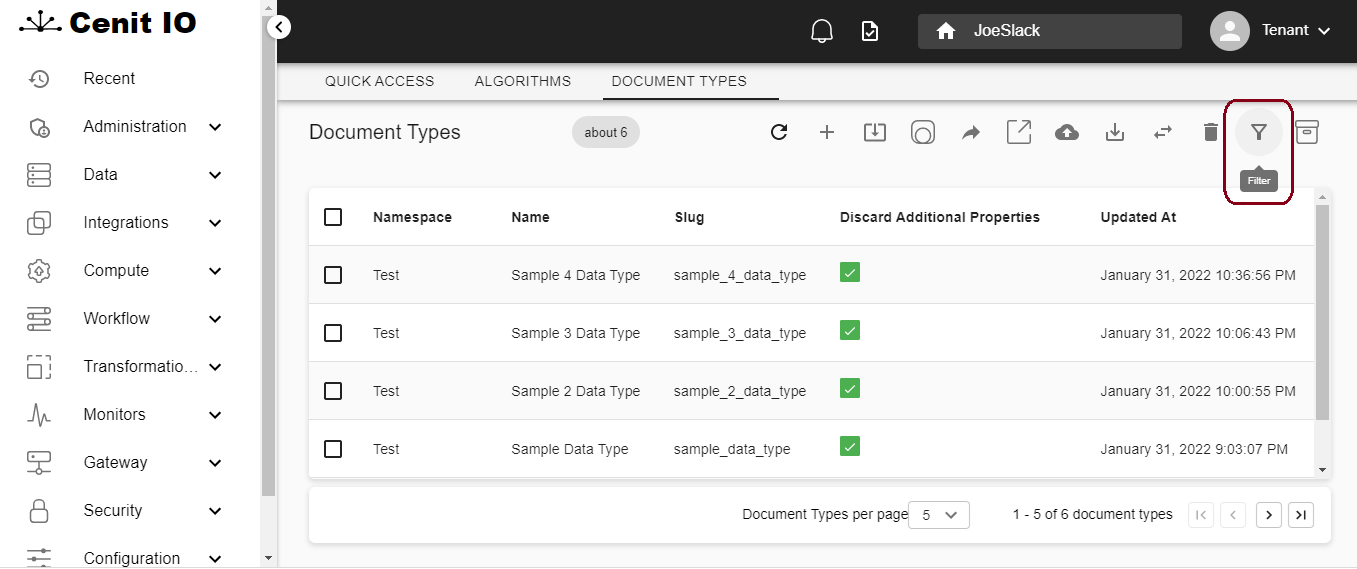
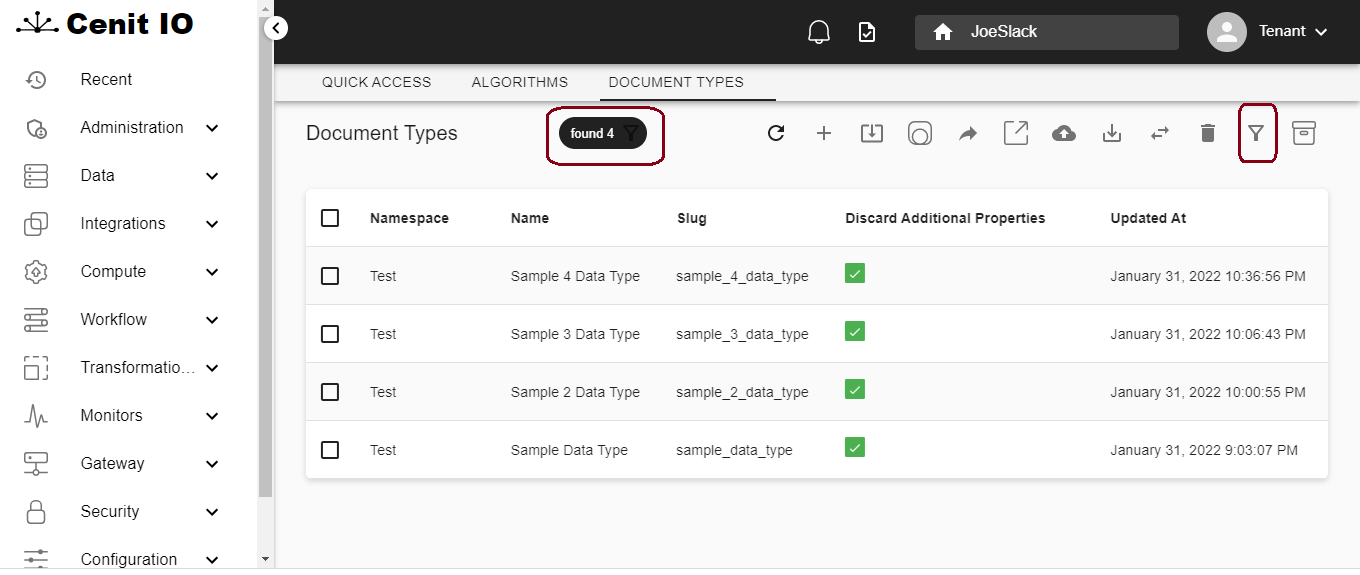
The Filter button allows to apply a filter to narrow the list in those cases the list is large.
When filtering, we need to add one or more conditions, then press the Filter button.
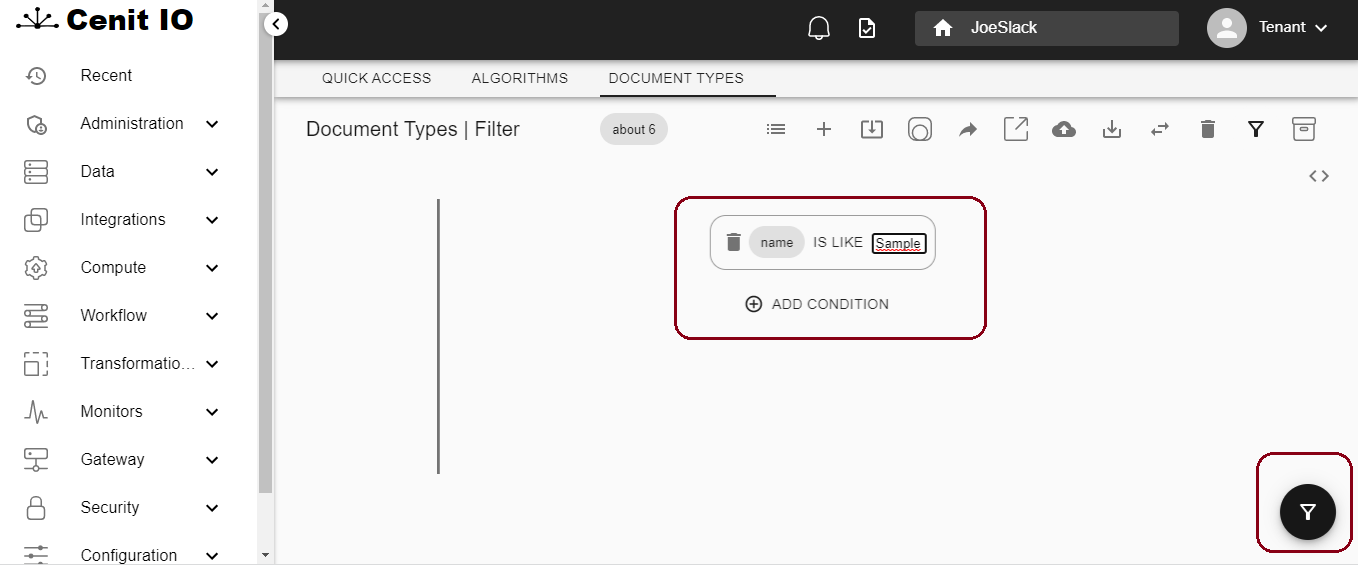
After applying the filter conditions, the list of elements shows only those elements which match the conditions. If you want to see the entire list again, you need to press the Filter button again or the found counter, in order to delete the filter conditions.
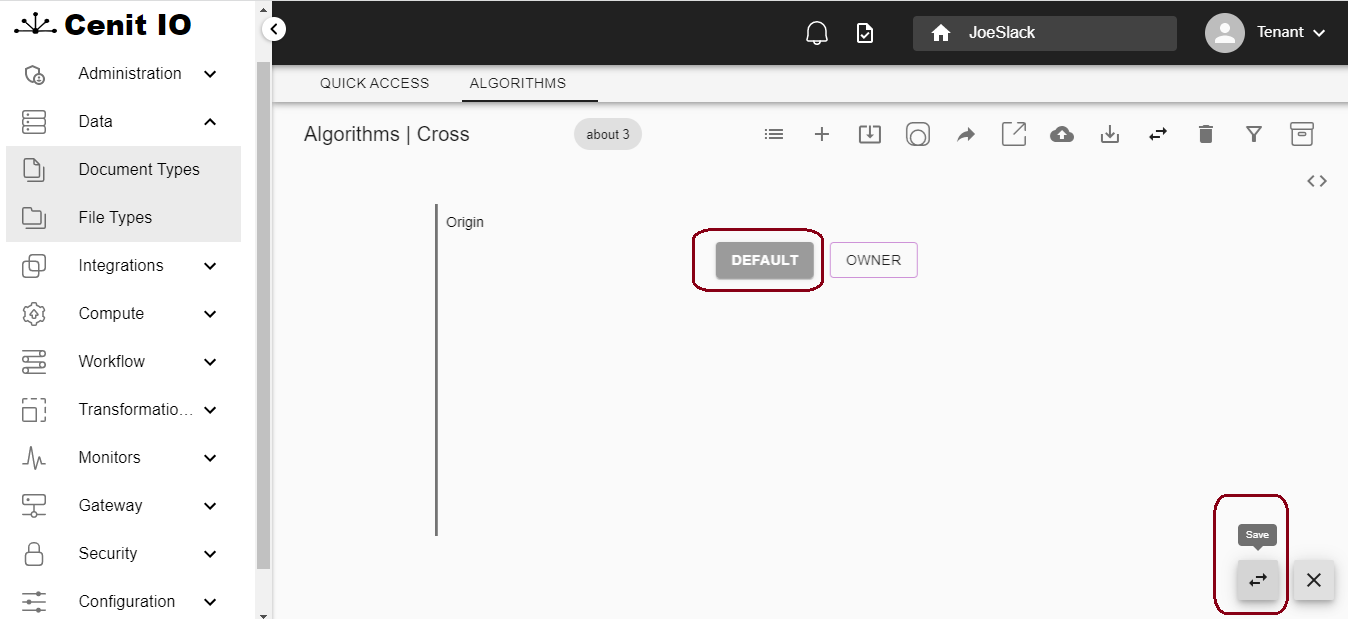
The Cross button allows to share elements to other tenants.

After pressing the Cross button you should select owner in order to share the elements in that list with all the tenants managed by that owner:

When sharing is completed, the elements are available in every owners's tenant. The check boxes in purple padding indicate those are shared resources.

The shared elements may not be modified nor deleted. In case you need, you can stop sharing by pressing the Cross button and selecting the option Default.
After sharing is stopped, the elements will not be available int the other tenants, but are now available to be modified.
You should notice the previous examples show different lists of elements. That's precisely the idea we're intended to notify, no matter the kind of the elements in the list, the options in the generic menu are common to every list of elements in Cenit. Of course, when pressing the New button a different window is shown depending on the kind of element you want to create.

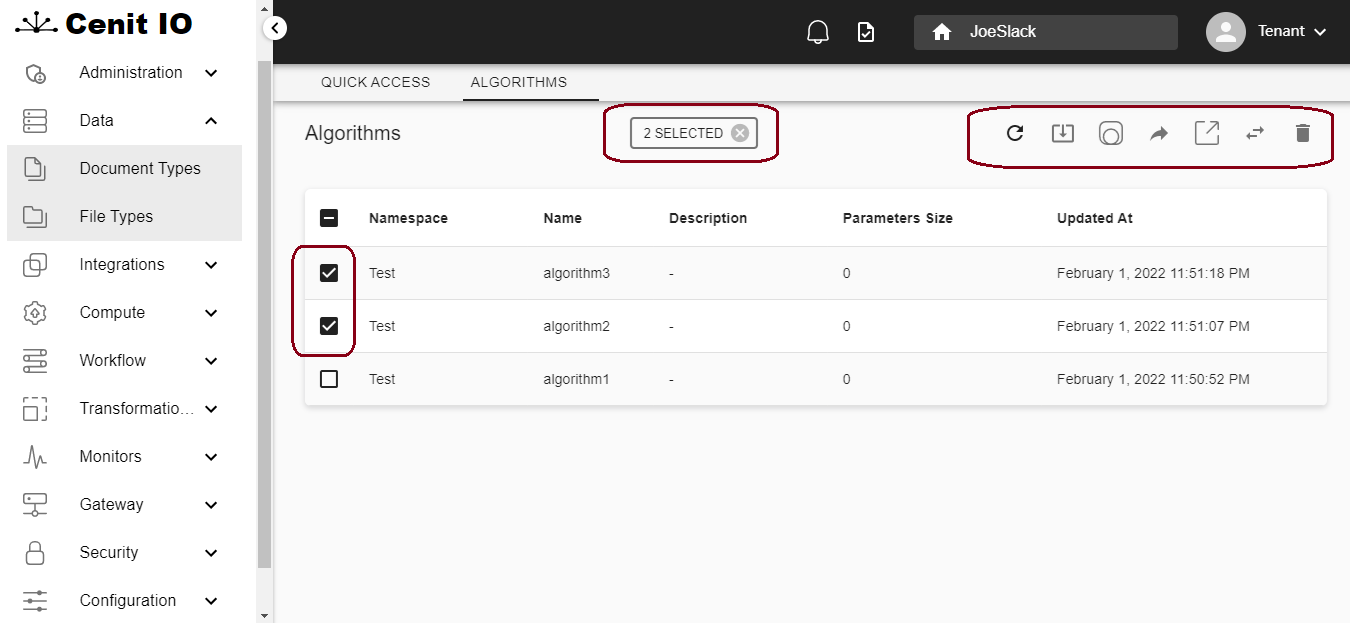
As mentioned before, when no element is selected, the options in the generic menu apply to all the elements in the list. When selecting one or more elements, the menu bar might show different options depending on you select one or more elements. You should notice that when one or more elements are selected, the menu options now don't apply for all the elements but only for the selected ones.
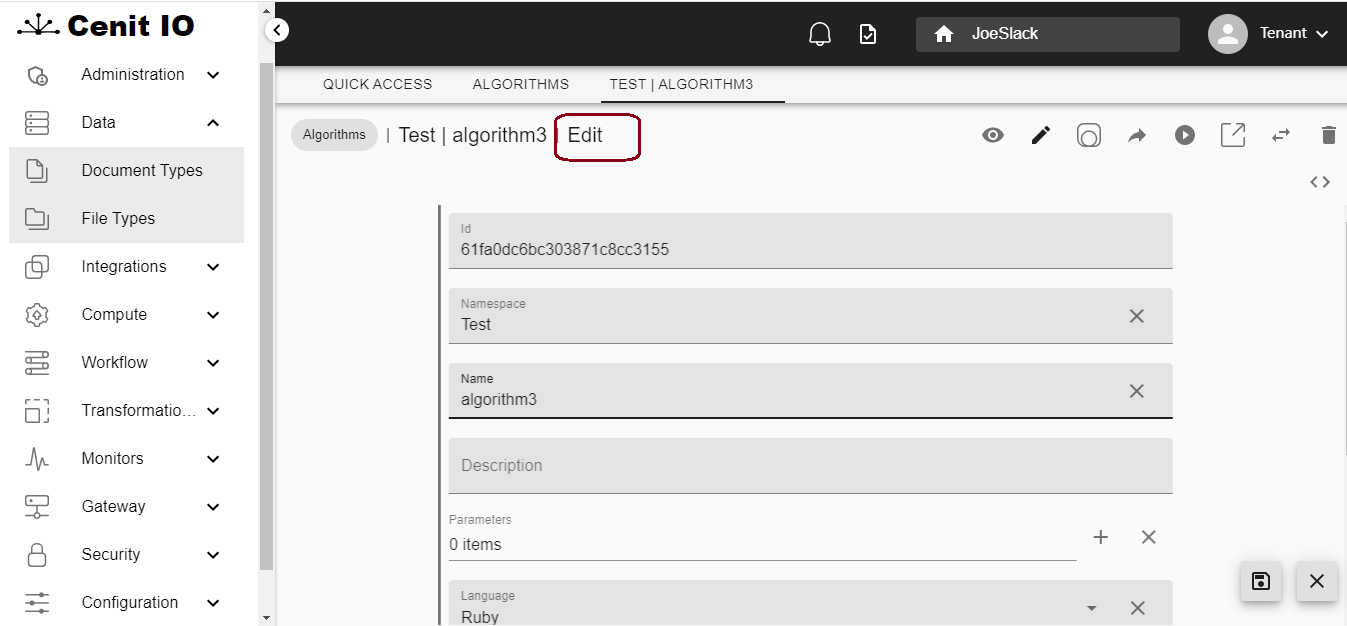
When only one element is selected, the Edit button is available:
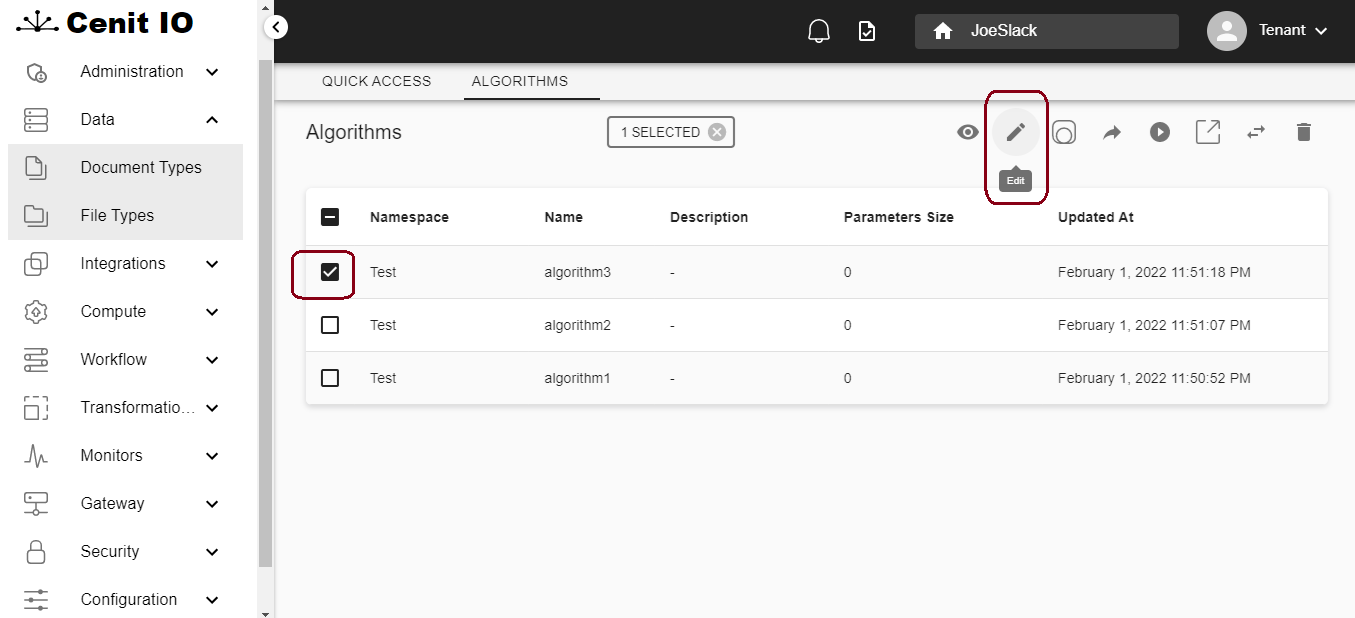
By pressing the Edit button you may modify every field of the selected element:
When only one element is selected, the Show button is also available:

By pressing the Show button you may see in detail every field of the selected element. In the show window you are able to move directly to edit that element by pressing one of the two edit buttons available.

When two or more elements are selected, neither the Show button nor the Edit button will be available:
When selecting one element, some options may vary depending on the kind of the select element. For example, if we select one algorithm, a Run button will be available for executing that algorithm:

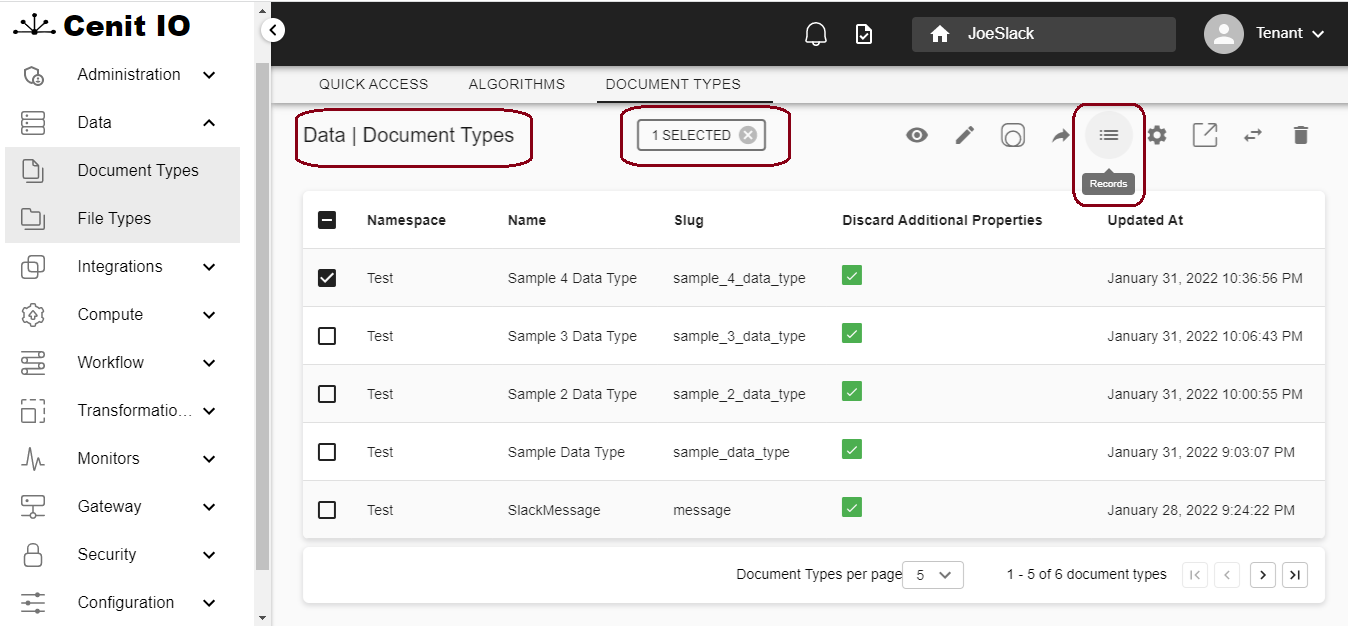
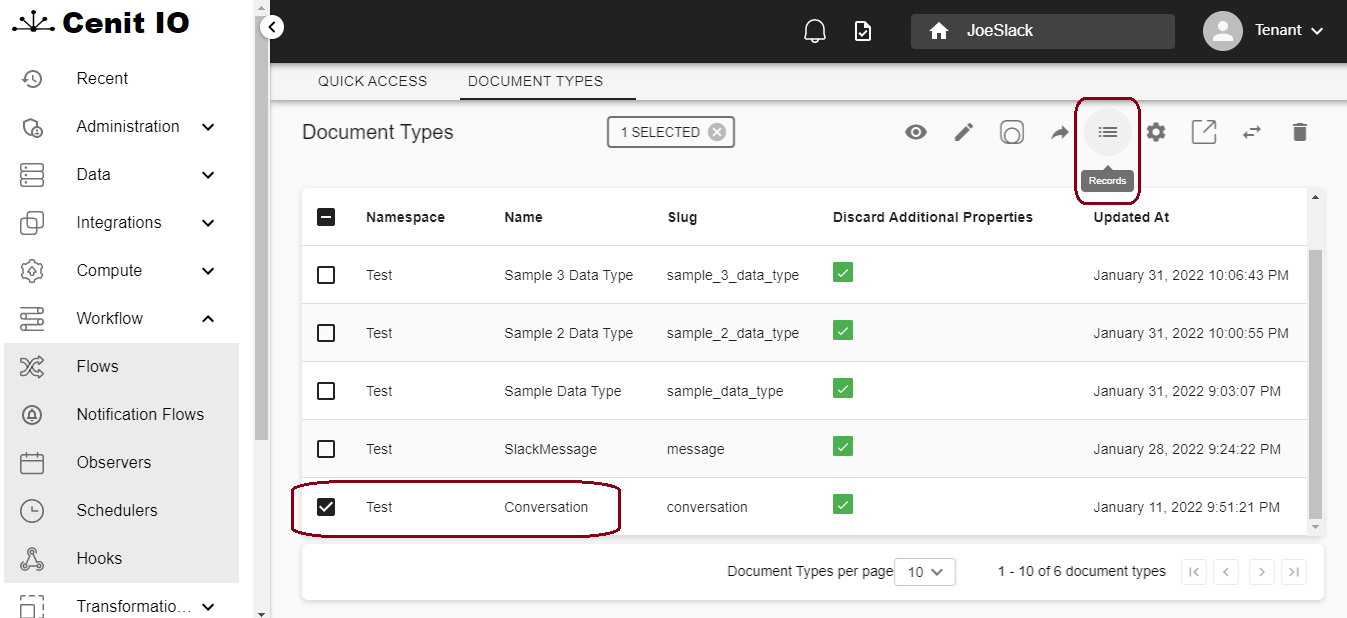
However, if the selected element is a data type, a Records button will be available in order to access the records of the selected data type.
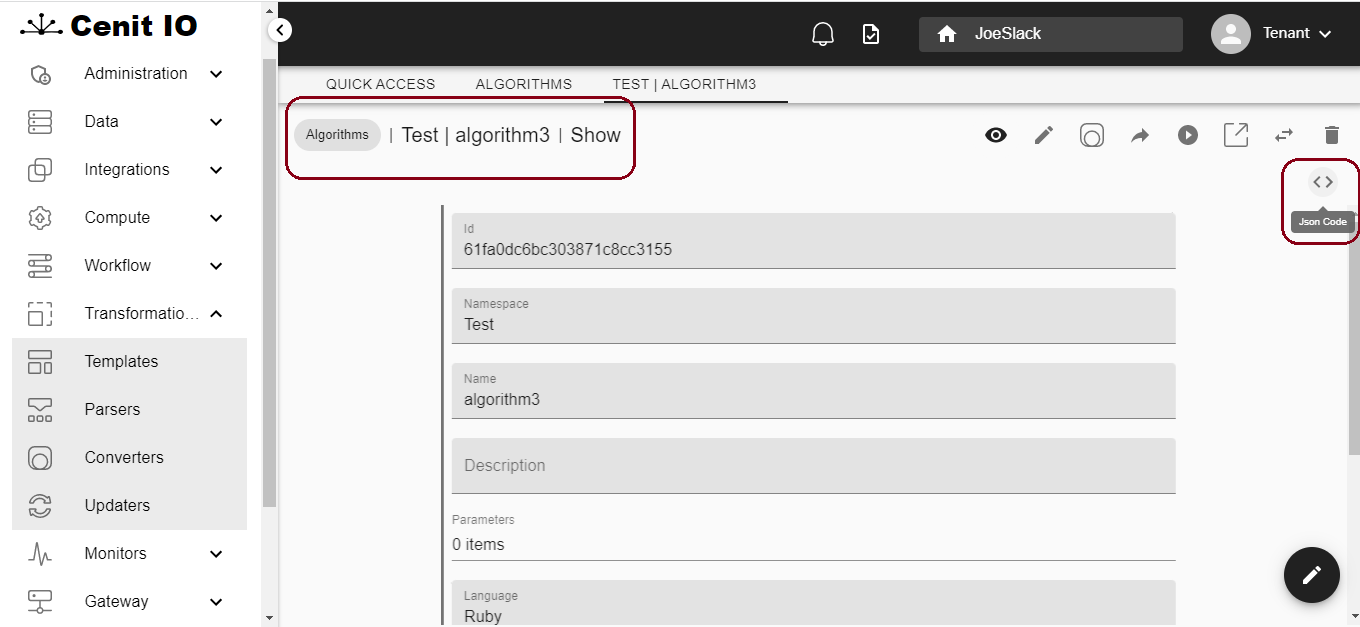
The Data Type button in the generic menu shows the Cenit Data Type of an element
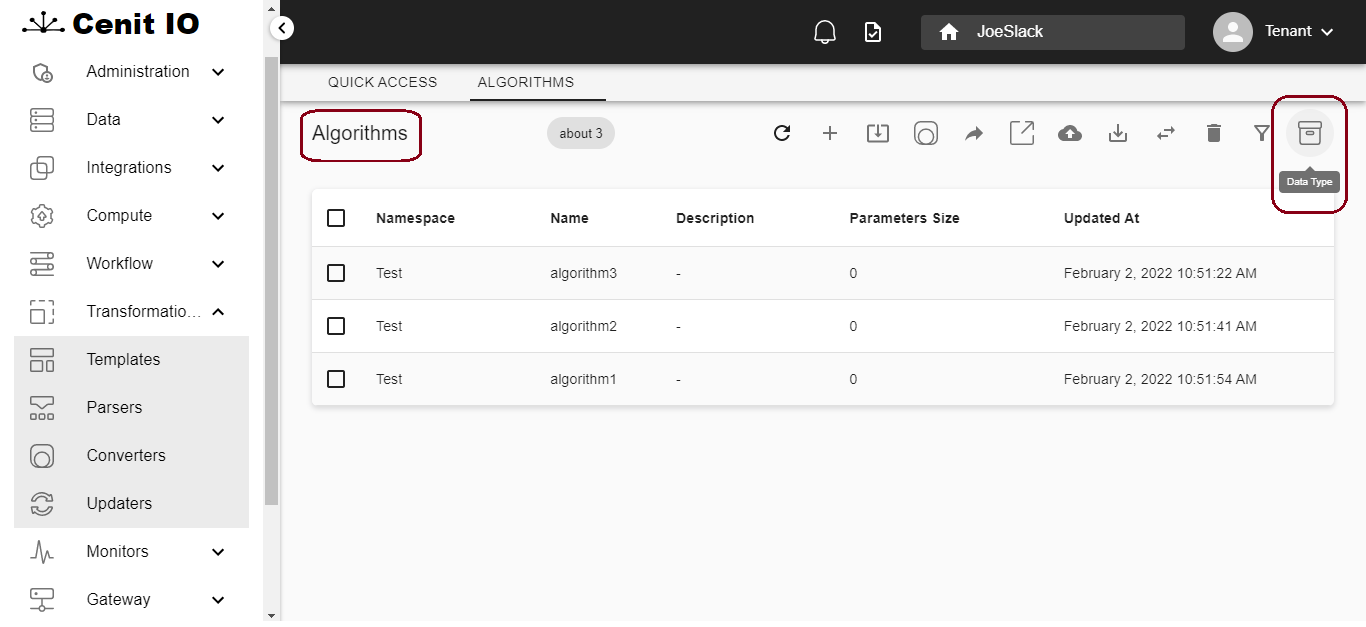
Cenit defines a Data Type for every kind of resources it manages, such as algorithms, flows, parsers, etc. Accordingly to the Cenit Type, all the resources you define are stored as records. The Data Type button shows the Cenit Data Type of an element, for example, an algorithm:

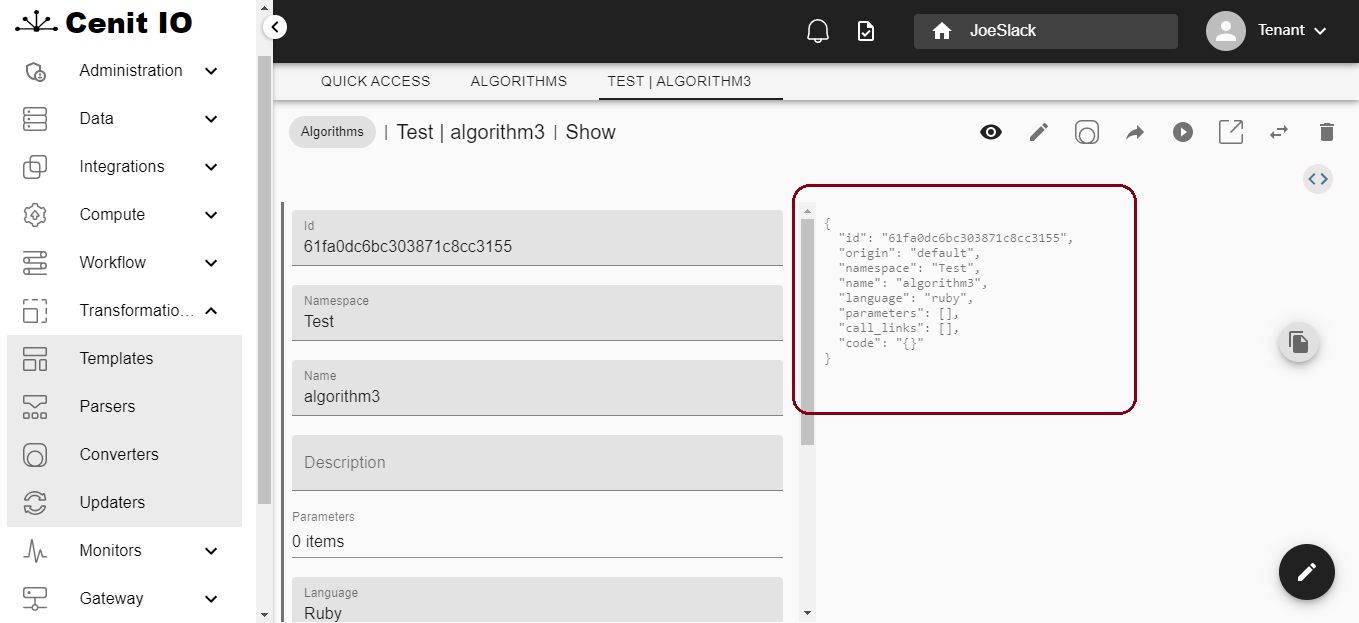
So if we show the details for an specific algorithm and press the Jscon Code button, as shown below:
the record for that resource is shown:
There are some options in the generic menu which allow to transform your resources by managing their records. So you can apply a transformation to them: update, convert, export or import. Or you can even send them to a flow.

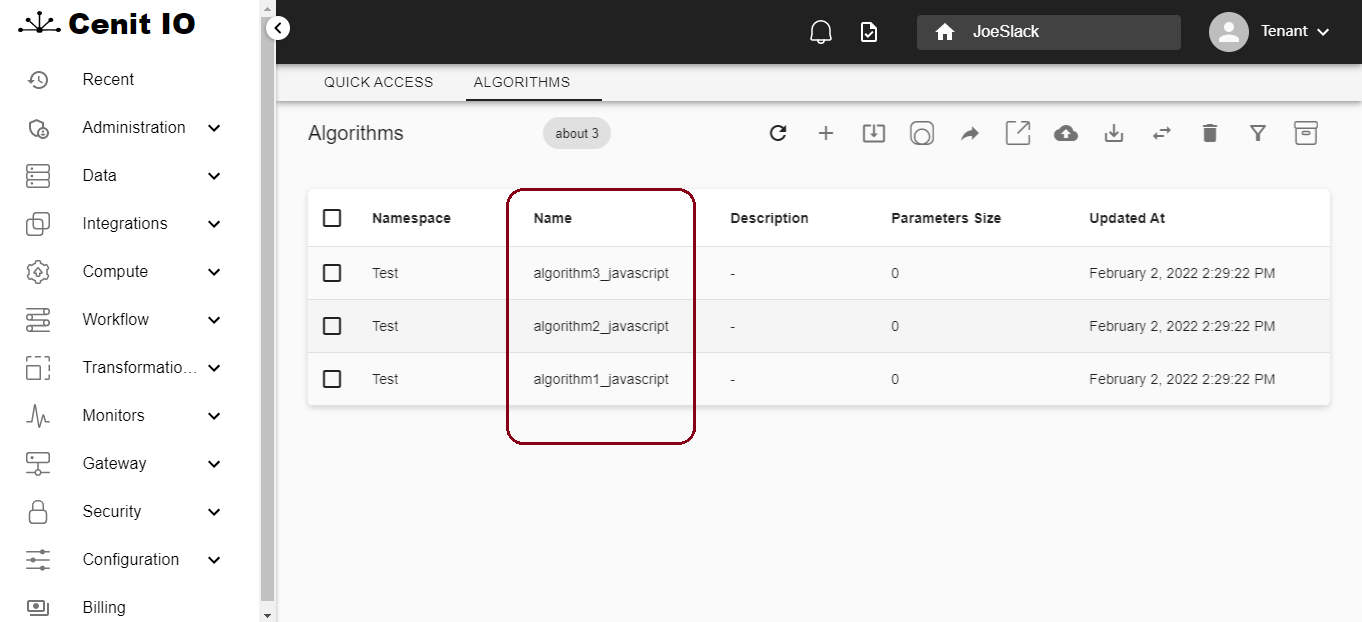
These options might be useful if we need to transform resources via code. For example, we want to update all the algorithms for changing their language to javascript and adding the suffix _javascript to their names:

We can modify the algorithms, one by one, by using the edit button and changing its properties manually. That works for a few resources. If we want to do the same for all the algorithms, updating the resources via code is probably the best option. In order to accomplish that goal, we can define an Updater:
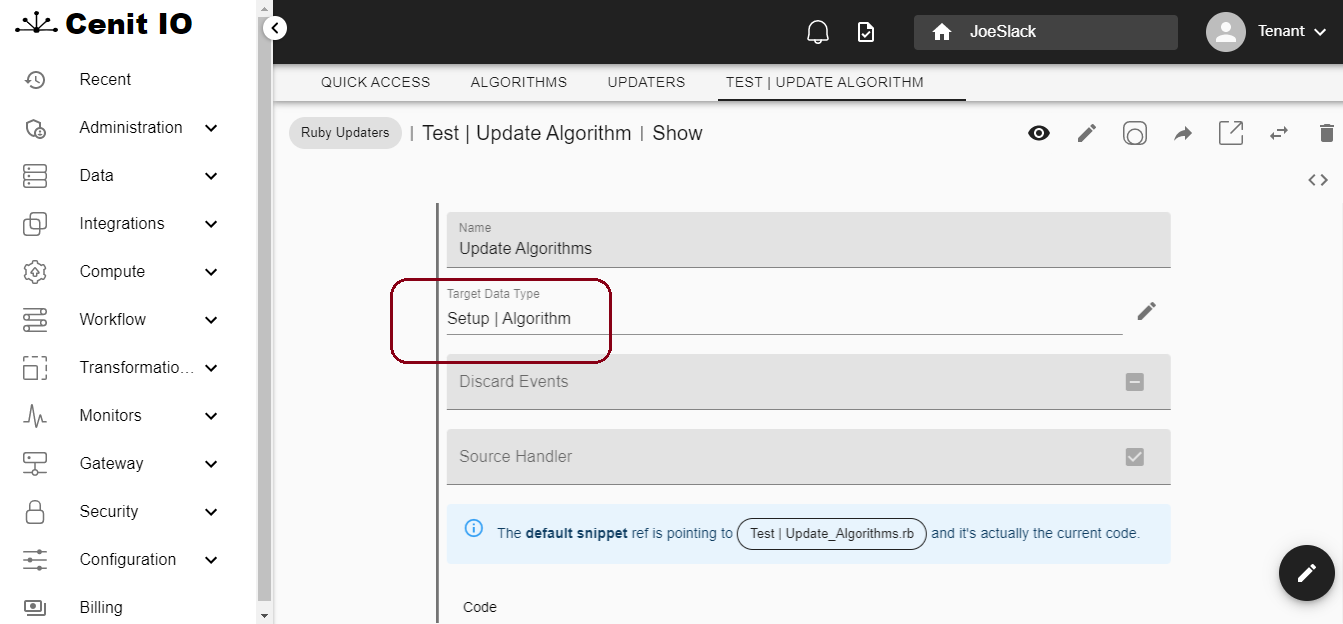
You should note the target data type is not a data type we defined. It's a pre-defined Cenit Data Type related to the algorithm resource, the same we explored in the previous example. The code for our updater would be the one below:
targets.each do |target|
  target.name =  "#{target.name}_javascript"
  target.language =  "javascript"
  target_data_type.create_from_json(target.to_json, primary_field: "id")
end
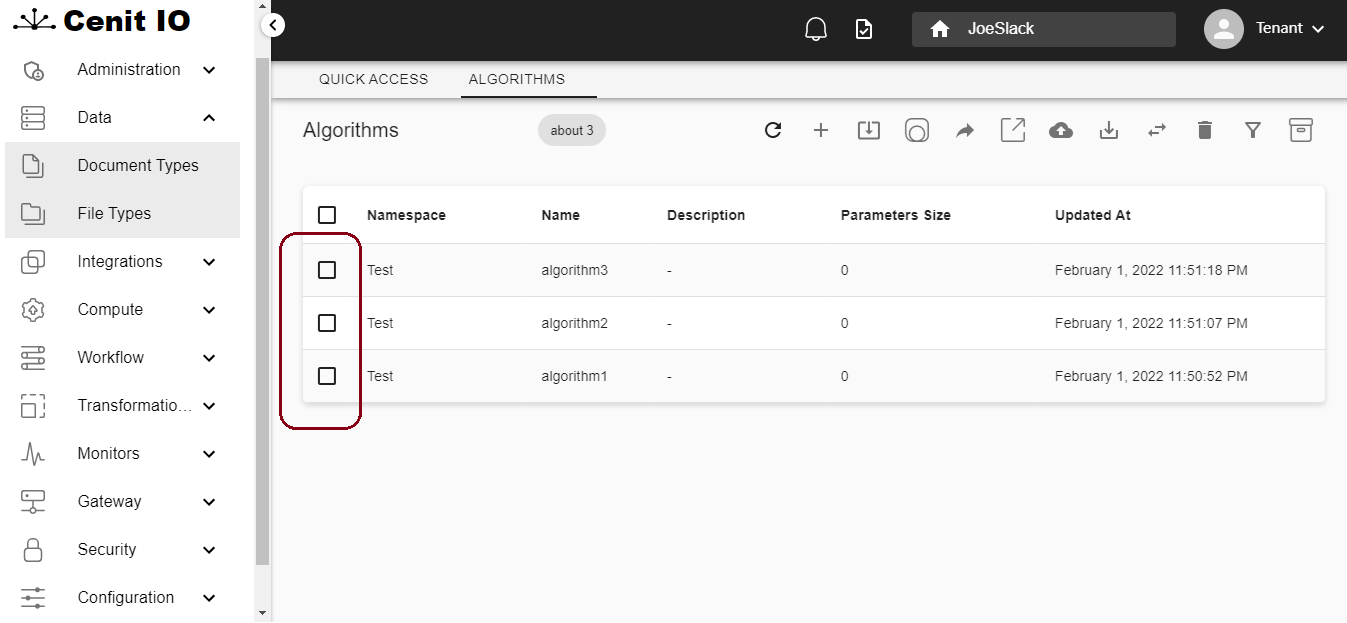
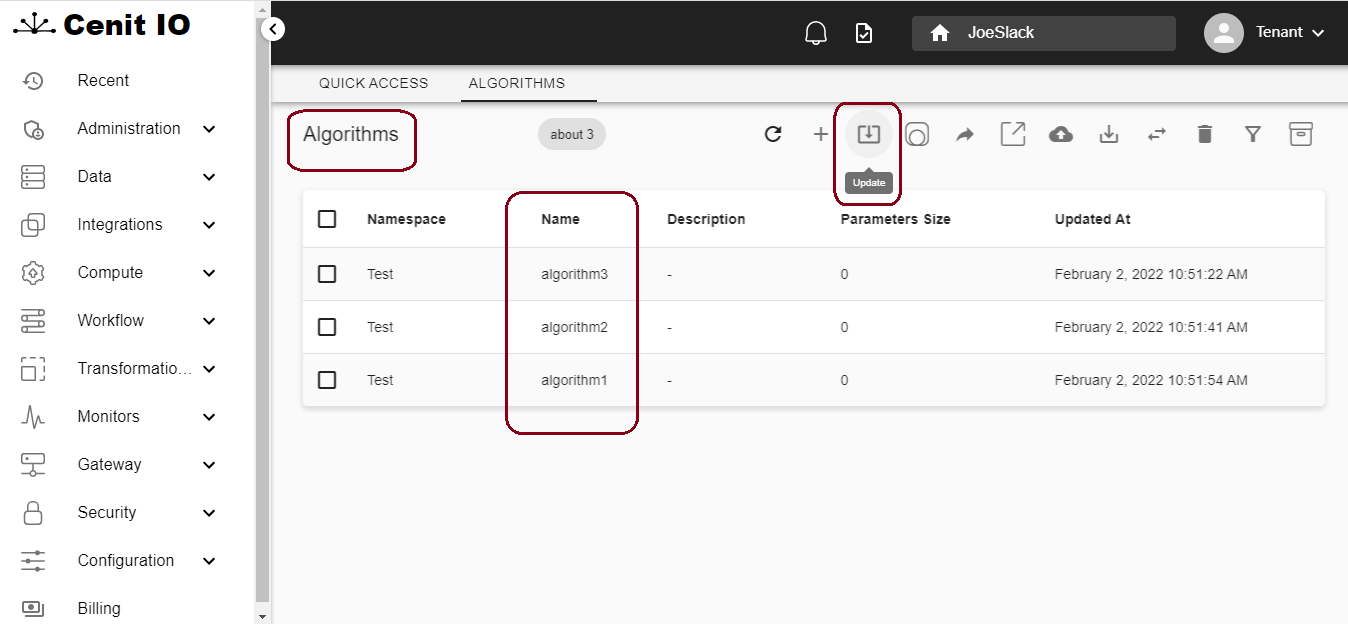
From the list of algorithms we can update all the algorithms by pressing the Update button. You should notice the Update button applies to all the algorithms in the list due to no algorithms are selected.
Then we need to select an updater or create a new one by using a Form Action

After pressing the Save button we can list the algorithms and we can see the updated names. The language property was certainly updated too.
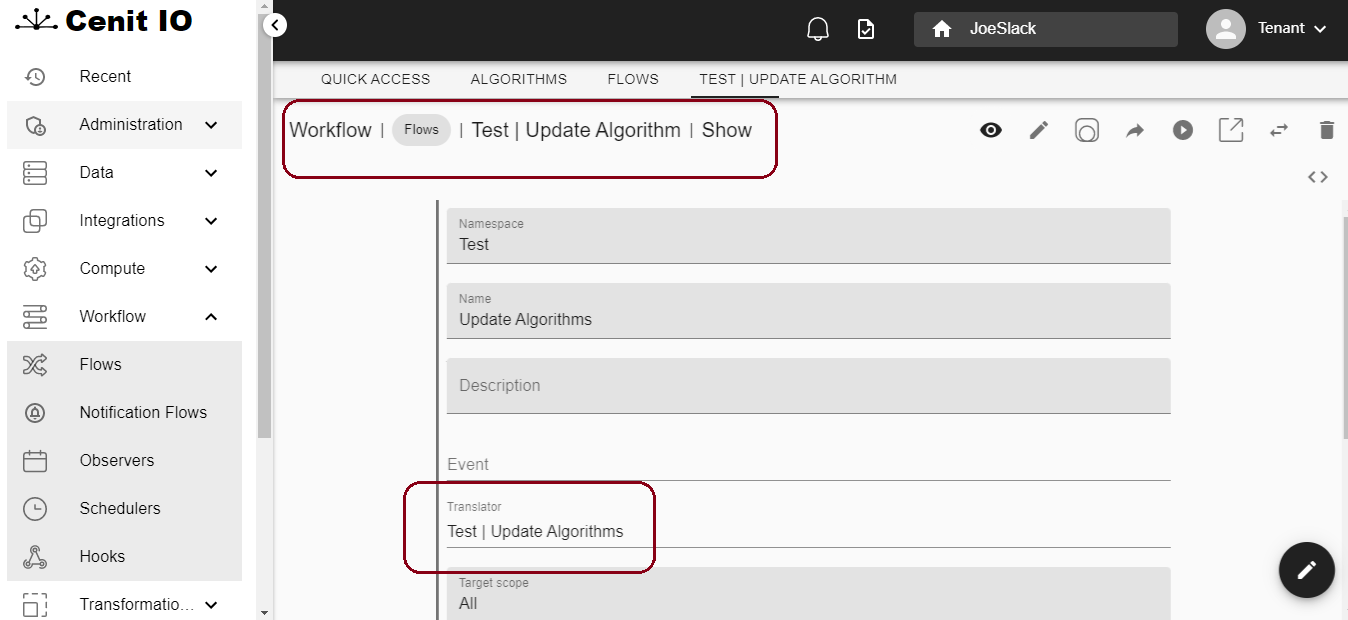
Another way to get the same result is sending the algorithms to a flow. If we define a flow that uses an Updater as translator, we can send the algorithms to that flow, so they will be updated. For example, we define a flow that uses the same updater shown before:
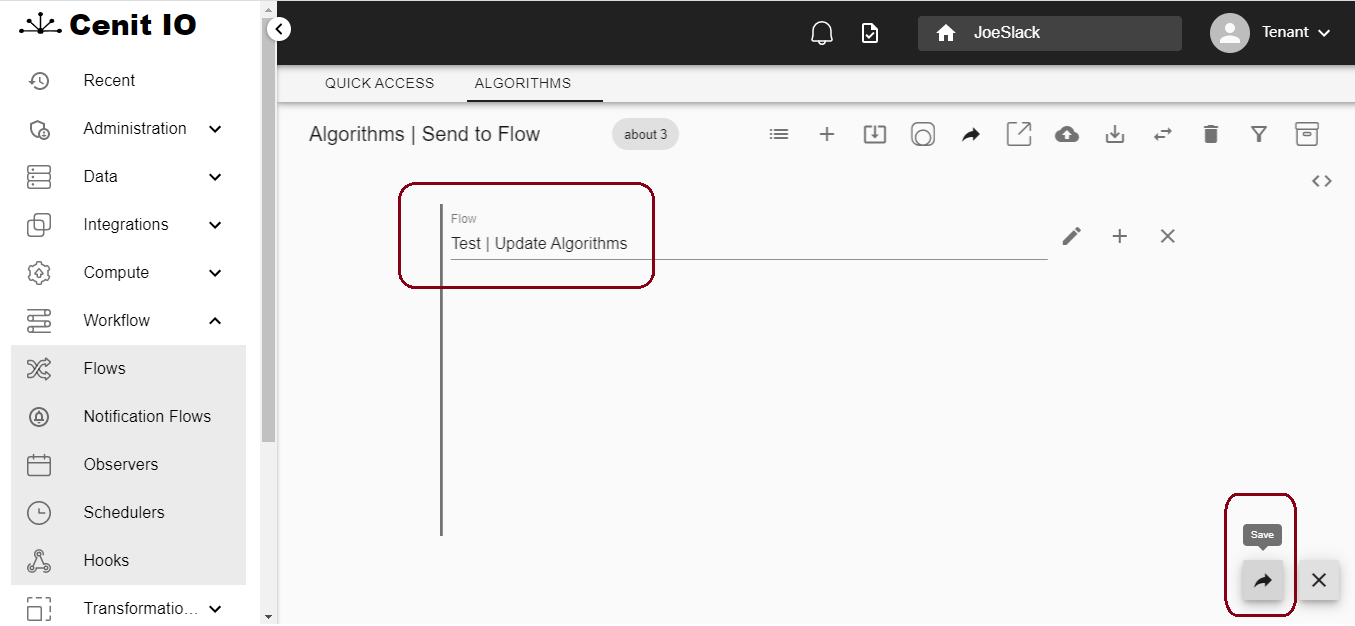
Then, in the list of algorithms we can press the Send To Flow button, that means processing the selected flow and this, in turn, is going to execute its translator where the algorithms are processed as targets.

Then, we need to select the flow and press the Save button:
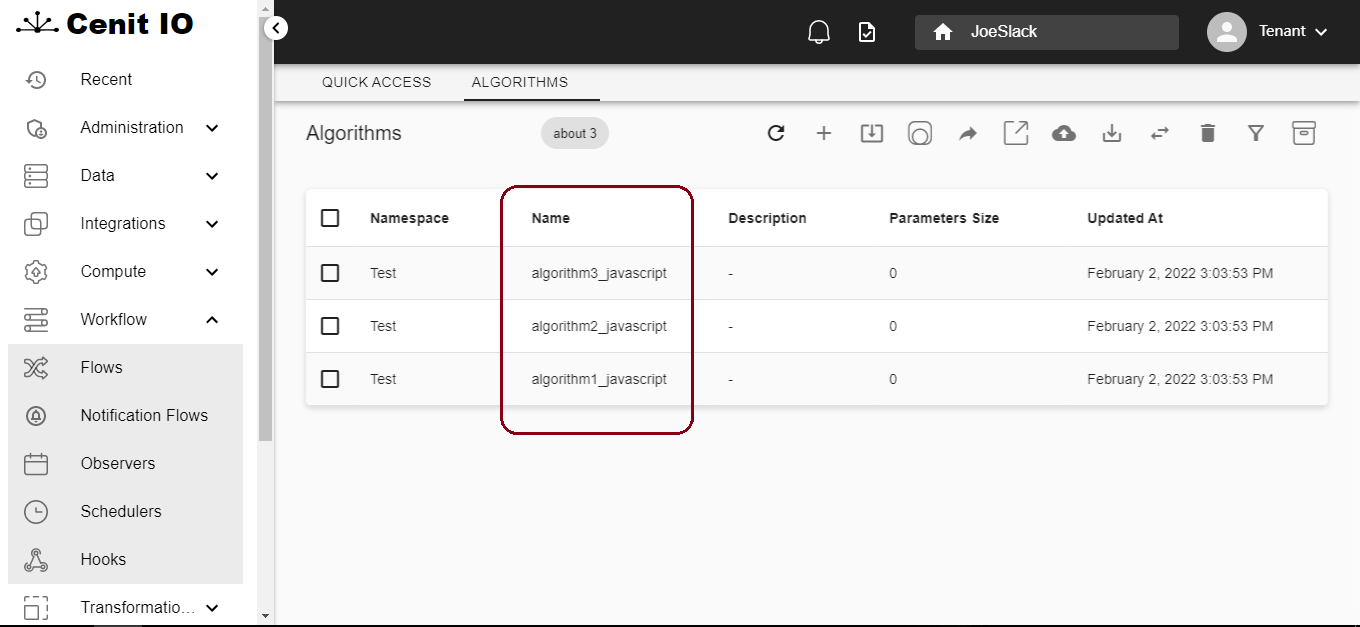
After executing the flow, the algorithm's names appear updated in the list.
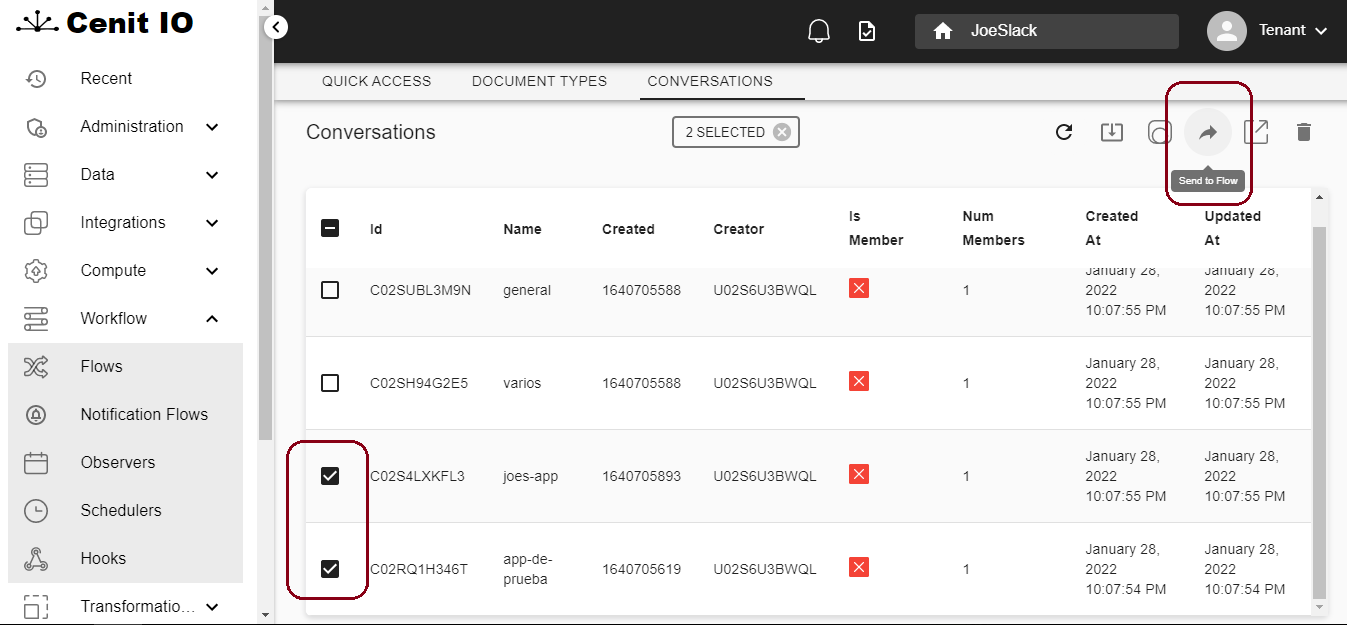
The Send To Flow button can be used also to send records to a flow. In order to send records to a flow you need to the select a Data Type, for example, Conversation, and press the Records button.
Then you need to select one of more records and press the Send To Flow button
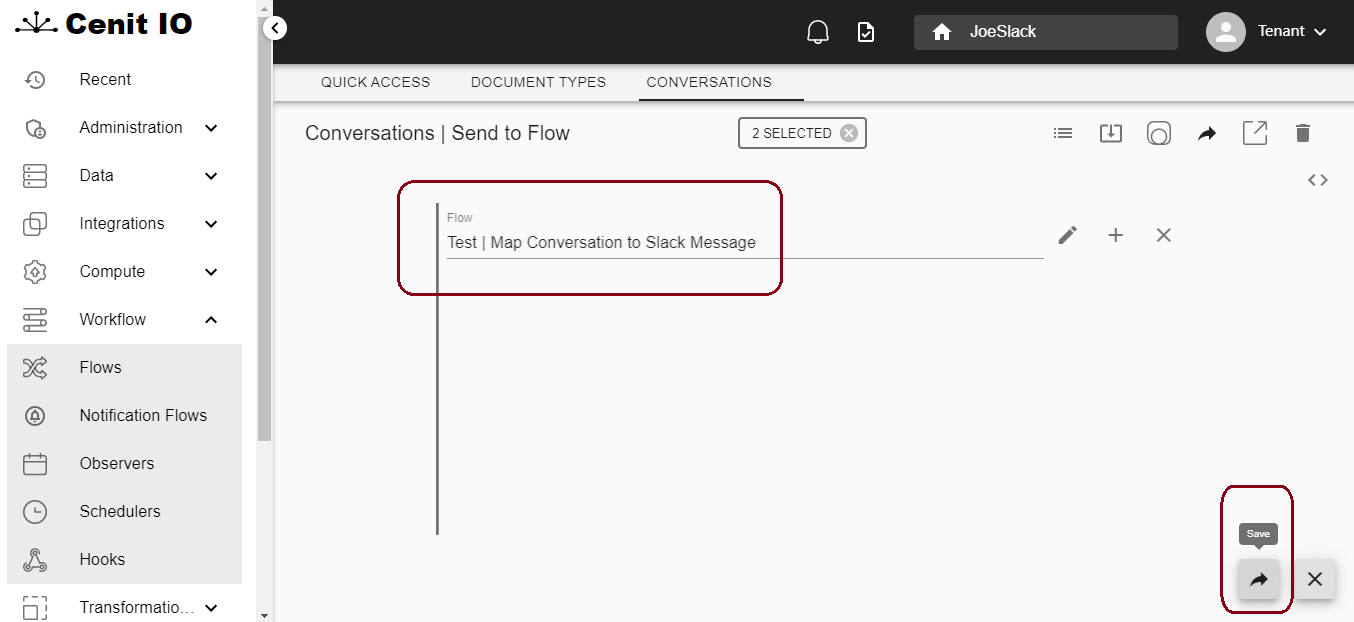
Then you select the flow the records are sent to, for example, a converter flow, and press the Save button.
When the converter flow execution is completed, you can see the new records by exploring the records of the other Data Type, SlackMessage in this case.
